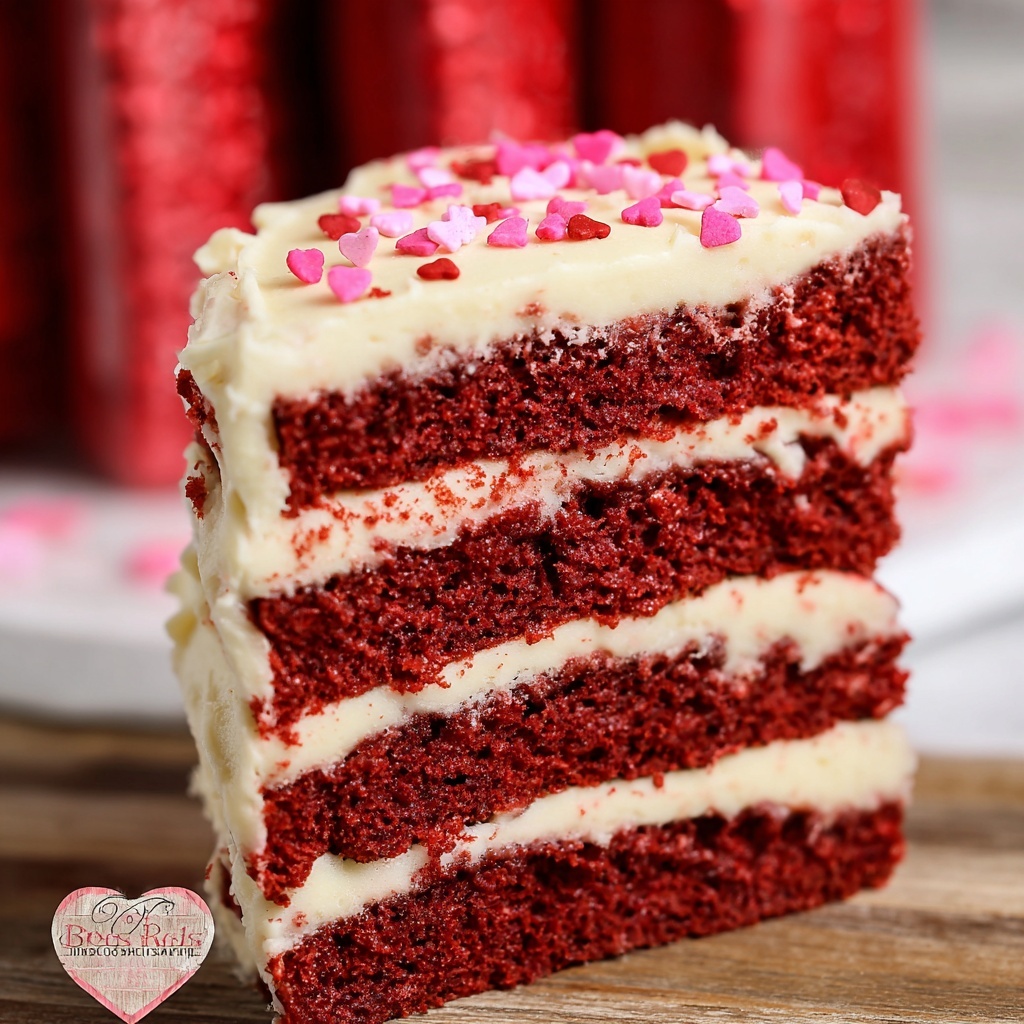
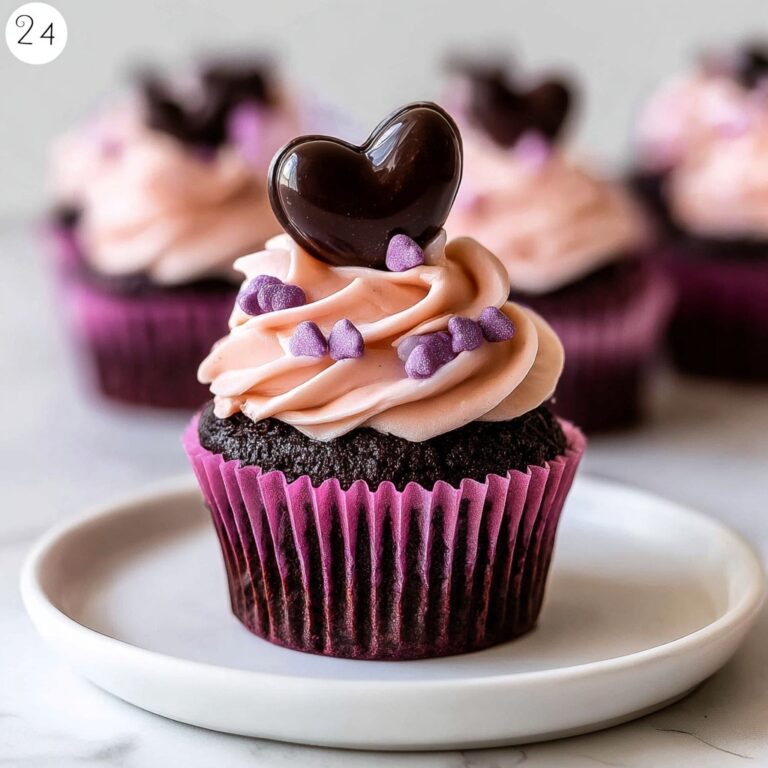
If you’re on the hunt for a dessert that combines the rich charm of red velvet with the irresistible appeal of cookies, look no further! This Red Velvet Cookie Cups with Cream Cheese Frosting Recipe is the perfect crowd-pleaser — soft, fluffy, and boasting that classic red velvet flavor heightened by a luscious cream cheese frosting. These cookie cups offer a delightful twist on traditional desserts, making every bite a celebration of texture and taste, ideal for sharing or savoring on your own.

Ingredients You’ll Need
To create these enchanting red velvet cookie cups, you’ll need a handful of staple ingredients that each play a crucial role in crafting the perfect balance of flavor, color, and texture. From flour and cocoa powder that build the base to cream cheese and powdered sugar that bring the frosting to life, every element contributes to this beloved treat.
- All-purpose flour: The foundation of your cookie dough, providing structure and tenderness.
- Unsweetened cocoa powder: Adds a subtle chocolate depth and rich red velvet nuance; Dutch process works beautifully.
- Baking soda and baking powder: These leavening agents ensure the cookie cups rise just right, tender yet sturdy.
- Salt: Enhances all the flavors, balancing sweetness.
- Unsalted butter (room temperature): For creamy richness and a soft, melt-in-your-mouth texture.
- White granulated sugar: Sweetens perfectly and helps with that lovely cookie crumb.
- Pure vanilla extract: Brings aromatic warmth to the cookie dough and frosting alike.
- Honey: Keeps cookies soft while adding a subtle depth of flavor.
- White vinegar: Works its magic to enhance the red velvet’s tangy undertones and vibrant color.
- Large eggs (room temperature): Bind everything together with richness and moisture.
- Red gel food dye: Gives these cookie cups their iconic, eye-catching red color without altering texture.
- Unsalted butter (for frosting, room temperature): For fluffy, smooth cream cheese frosting.
- Cream cheese (room temperature): Adds tang and creaminess that perfectly balances the sweetness.
- Powdered sugar (sifted): Sweetens and thickens the frosting to a luscious consistency.
- Heart sprinkles: A whimsical, festive touch to crown your finished cookie cups.
How to Make Red Velvet Cookie Cups with Cream Cheese Frosting Recipe
Step 1: Prepare the Dry Ingredients
Begin by sifting together the flour, cocoa powder, baking soda, baking powder, and salt into a medium bowl. This step not only ensures there are no lumps but also helps combine these dry ingredients evenly, critical for achieving a uniform texture in your cookie cups.
Step 2: Cream the Butter and Sugar
In a large mixing bowl, beat the unsalted butter and granulated sugar on high speed for about 2 minutes. You’ll know it’s ready when the mixture becomes pale and fluffy—this aerates the dough, crucial for a light yet tender cookie structure.
Step 3: Add the Wet Ingredients
Now beat in the vanilla extract, honey, white vinegar, eggs, and the red gel food dye. Mix at medium speed for 1 minute until everything comes together into a beautifully colored, cohesive batter that hints at the delicious cupcake-inspired flavor to come.
Step 4: Combine Dry and Wet Ingredients
Slowly add the sifted dry ingredients to the wet mix and blend on low speed just until combined. Overmixing here can lead to tough cookies, so be gentle to keep them tender and soft.
Step 5: Chill and Scoop the Dough
Preheat your oven to 350°F (177°C) and line two baking sheets with parchment paper. Let your dough rest for 10 minutes—it helps control spreading so the cookies hold a perfect cup shape. Using a large cookie scoop, place six dough balls evenly spaced on each sheet.
Step 6: Bake
Bake one tray at a time for 13-15 minutes. The cookies should have set edges but a slightly underdone center to remain soft and chewy, which is perfect for that cookie cup texture.
Step 7: Cool Before Decorating
Allow the baked cookies to sit on the hot pan for 5 minutes – this lets them firm up a bit before moving to a wire rack where they cool completely. Proper cooling is key to avoid frosting melting on contact.
Step 8: Make the Cream Cheese Frosting
Sift powdered sugar into a medium bowl and set aside. In a separate large bowl, beat the softened butter on high speed until fluffy, about 2 minutes. Add the cream cheese and continue beating for another minute until smooth, scraping the bowl down as needed to avoid lumps.
Step 9: Combine and Finish Frosting
Gradually add the powdered sugar into the butter and cream cheese mix on low speed until just combined, then add vanilla extract and beat on high until the frosting is creamy and spreadable.
Step 10: Decorate the Cookie Cups
Use a small cookie scoop or a spoon to dollop the frosting generously onto each cooled cookie cup. Smooth the frosting using an offset spatula for a sleek finish. Top with your heart sprinkles to add that extra festive sparkle.
How to Serve Red Velvet Cookie Cups with Cream Cheese Frosting Recipe
Garnishes
While the heart sprinkles are a classic finishing touch, you can also scatter some finely chopped white chocolate or a dusting of cocoa powder for extra flair. Fresh berries on the side add a juicy contrast and a pop of color that elevates the whole presentation.
Side Dishes
Pair these cookie cups with a rich cup of coffee, creamy hot chocolate, or even a glass of cold milk to balance their sweetness. For a party, serve alongside mini fruit tarts or whipped cream dollops for a deluxe dessert spread.
Creative Ways to Present
Consider serving your Red Velvet Cookie Cups with Cream Cheese Frosting Recipe in cute individual dessert jars layered with extra frosting or crumbled cookies. Or arrange them on a tiered stand for a charming display that guests won’t be able to resist.
Make Ahead and Storage
Storing Leftovers
Store your decorated cookie cups in an airtight container in the refrigerator to keep the cream cheese frosting fresh and stable. They’ll stay delicious for up to five days, giving you enough time to enjoy or share.
Freezing
You can freeze undecorated cookie cups in a single layer on a baking sheet once cooled; then transfer to a freezer-safe container. Once ready to serve, thaw completely before frosting. This is a great way to prepare ahead for special occasions.
Reheating
If you prefer your cookies slightly warm, gently reheat unfrosted cookie cups in a low oven (300°F) for 5-7 minutes. Avoid microwaving once frosted, as the cream cheese frosting doesn’t reheat well and can become runny.
FAQs
Can I use regular cocoa powder instead of Dutch process?
Absolutely! The flavor might be a bit different—regular cocoa powder is more acidic, which could subtly affect the final taste and color. Dutch process offers a smoother, richer profile that works well with red velvet.
Is there a substitute for red gel food dye?
You could use natural coloring like beet juice powder or other food-safe natural dyes, but expect a less intense red hue. Gel dye is best for that vibrant, classic red velvet look.
Can these cookie cups be made gluten-free?
Yes, by substituting all-purpose flour with a gluten-free baking blend that includes xanthan gum, you can adapt this recipe while maintaining texture. Just make sure all other ingredients are certified gluten-free.
How can I make my cookie cups more moist?
Adding a little extra honey as in this recipe helps keep them soft, but you can also slightly reduce baking time to maintain moisture or add an extra egg yolk for richness.
What’s the best way to transport these cookie cups?
Transport them in a sturdy container lined with parchment, and keep them chilled to prevent the frosting from melting. Placing wax paper between layers helps avoid sticking during travel.
Final Thoughts
I can’t recommend enough trying the Red Velvet Cookie Cups with Cream Cheese Frosting Recipe whether you’re baking for a loved one or treating yourself. They combine the best of two worlds—cookies and cupcakes—in a way that feels both nostalgic and exciting. Dive in and enjoy every delightful bite of this comfort-packed, stunning dessert!
Print
Red Velvet Cookie Cups with Cream Cheese Frosting Recipe
- Prep Time: 30 minutes
- Cook Time: 15 minutes
- Total Time: 1 hour 18 minutes
- Yield: 21 cookies
- Category: Dessert
- Method: Baking
- Cuisine: American
Description
These Red Velvet Cupcake Cookies combine the rich flavors of classic red velvet cake with the soft, chewy texture of a cookie. Topped with silky cream cheese frosting and festive heart sprinkles, they’re perfect for special occasions or anytime you want a delightful sweet treat.
Ingredients
Dry Ingredients for Cookies
- 2 1/2 cups All-purpose flour
- 1/4 cup Unsweetened cocoa powder (Dutch process recommended)
- 1/2 tsp Baking soda
- 1/2 tsp Baking powder
- 1 tsp Salt
Wet Ingredients for Cookies
- 1 cup Unsalted butter (room temperature)
- 1 1/2 cups White granulated sugar
- 1 tsp Pure vanilla extract
- 1 tsp Honey
- 1 tsp White vinegar
- 2 Large eggs (room temperature)
- 1 tsp Red gel food dye (Americolor super red recommended)
Cream Cheese Frosting
- 3/4 cup Unsalted butter (room temperature)
- 4 oz Cream cheese (room temperature)
- 2 1/2 cups Powdered sugar (sifted)
- 1 tsp Pure vanilla extract
Decoration
- Heart sprinkles (for decoration)
Instructions
- Sift dry ingredients: In a medium bowl, sift together the all-purpose flour, unsweetened cocoa powder, baking soda, baking powder, and salt. Set this mixture aside for later.
- Beat butter and sugar: In a large mixing bowl, use a mixer to beat the room temperature butter and granulated sugar on high speed for about 2 minutes until the mixture is pale and fluffy.
- Add wet ingredients and dye: Incorporate the vanilla extract, honey, white vinegar, eggs, and red gel food dye into the butter-sugar mixture. Mix on medium speed for 1 minute until fully combined.
- Combine dry and wet mixtures: Slowly add the sifted dry ingredients into the wet ingredients and mix on low speed until just combined, being careful not to overmix.
- Preheat oven and prepare sheets: Preheat your oven to 350℉ (175℃) and line two cookie sheets with parchment paper. Let the dough rest for 10 minutes to reduce spreading during baking.
- Scoop cookie dough: Using a large cookie scoop, portion out the dough, placing 6 scoops per cookie sheet to allow space for spreading.
- Bake cookies: Bake one tray at a time for 13-15 minutes until cookie edges are set but centers remain slightly underdone for softness.
- Cool cookies: Allow the cookies to rest on the hot baking sheet for 5 minutes, then transfer them to a cooling rack to cool completely before frosting.
- Prepare frosting sugar: In a medium bowl, sift the powdered sugar to remove lumps and set aside.
- Beat butter and cream cheese: In a large bowl, beat the butter on high speed until fluffy (about 2 minutes), then add the cream cheese and beat for an additional minute. Scrape down the bowl and beat again until smooth.
- Mix in powdered sugar and vanilla: Add the sifted powdered sugar to the mixture and blend on low speed until just combined, then add vanilla extract and beat on high speed until creamy.
- Frost cookies: Using a small cookie scoop, dollop frosting on each cooled cookie. Smooth frosting with an offset spatula and decorate with heart sprinkles.
- Store: Place decorated cookies in the refrigerator to keep the frosting firm and fresh until serving.
Notes
- Allowing the dough to rest before baking prevents excessive spreading for a better cookie shape.
- Using room temperature ingredients helps achieve smoother batter and frosting.
- For best red color, use a gel food dye rather than liquid to avoid thinning the batter.
- The cream cheese frosting must be chilled to maintain its texture on the cookies during storage.
- Store cookies in an airtight container in the fridge for up to five days.

