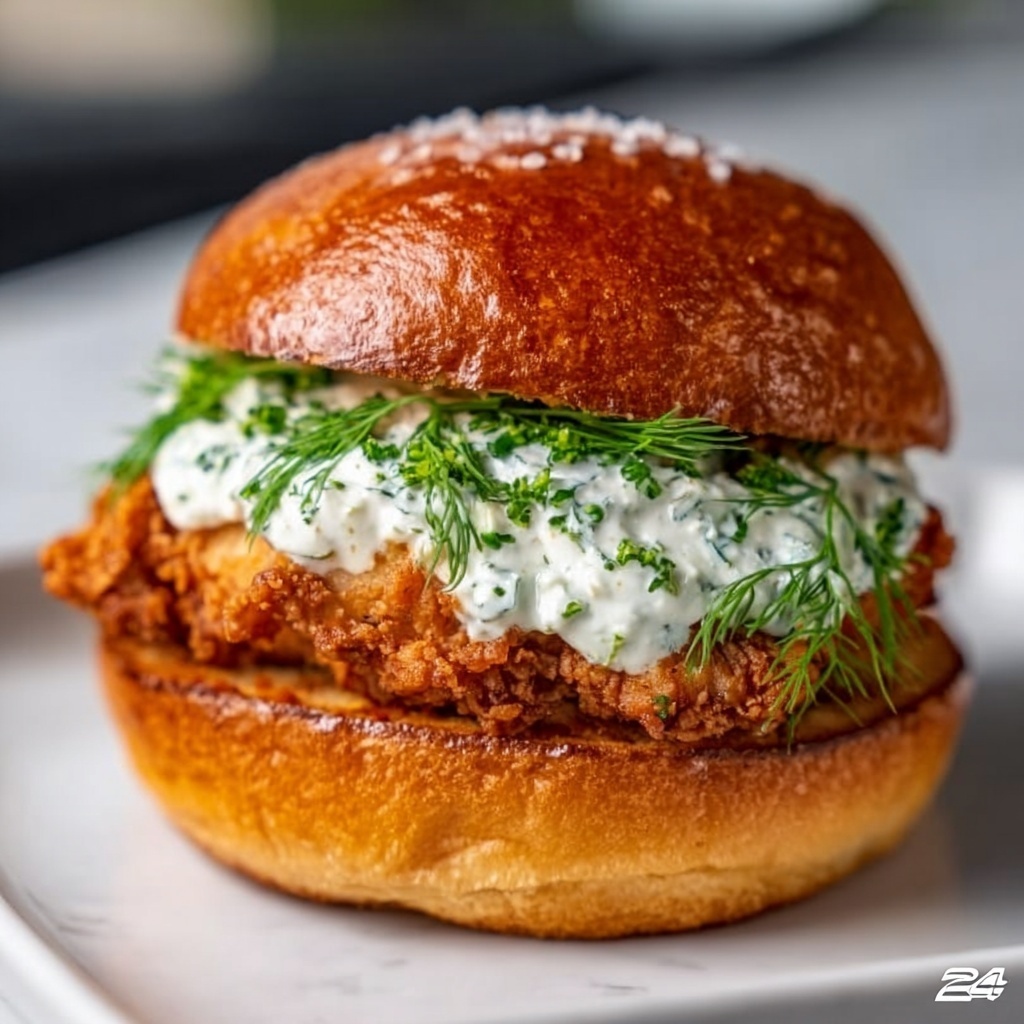
If you’re craving something irresistibly crunchy, bursting with fresh herbaceous flavor, and perfect for any mealtime, the Crispy Dill Chicken Sandwich Recipe You Can’t Resist! Recipe is your new ultimate go-to. This delightful sandwich features tender chicken breasts marinated in tangy buttermilk, then coated in a perfect blend of herbs and spices including fragrant dill, fried to golden perfection. Layered with crisp lettuce, juicy tomatoes, and tangy pickles on a soft bun, every bite delivers a mouthwatering combination that’s sure to become a fast favorite at your table.
Ingredients You’ll Need
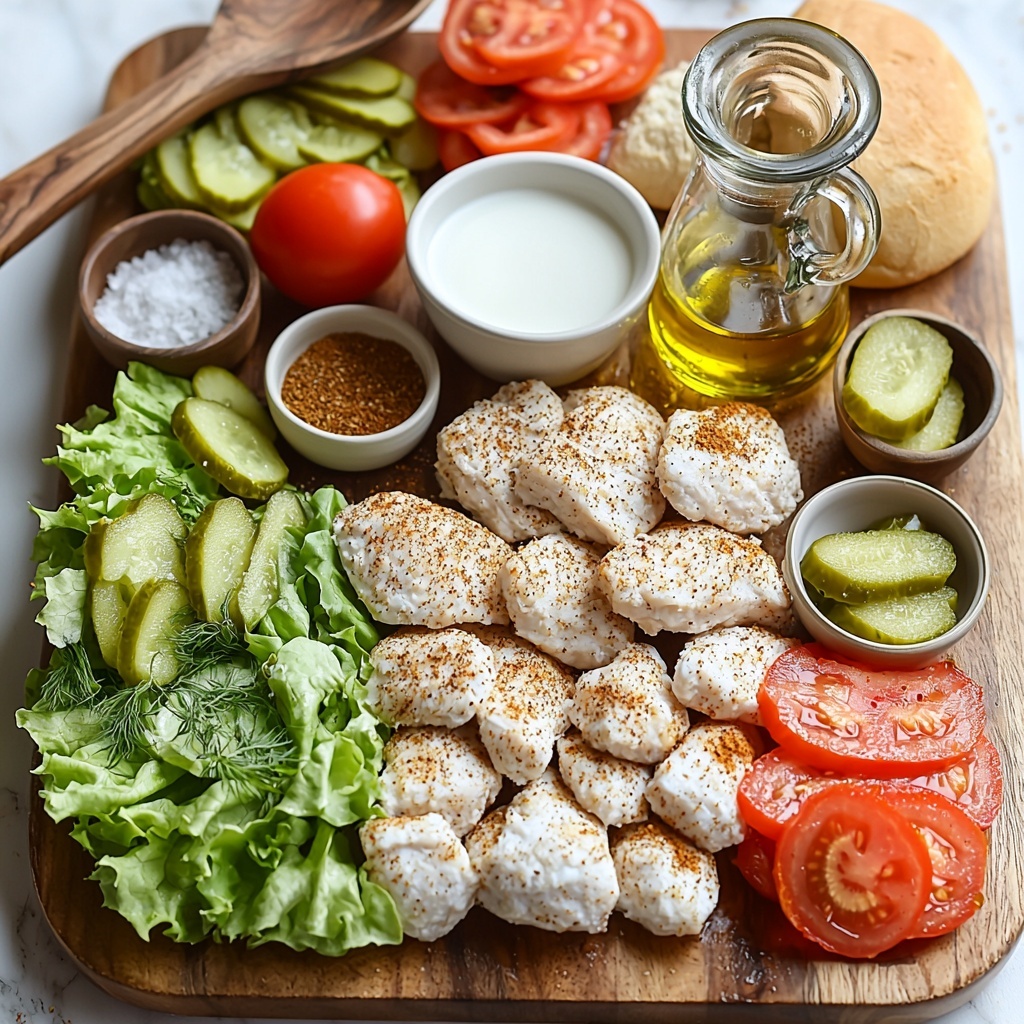
Gathering the right ingredients is the first step to creating this delightful sandwich. Each item plays an essential role, from enriching flavor to adding texture and color, making the cooking process straightforward yet wonderfully rewarding.
- 2 boneless, skinless chicken breasts: These provide the juicy, tender protein foundation for the sandwich.
- 1 cup buttermilk: Known for tenderizing, it adds a subtle tang that keeps the chicken moist and flavorful.
- 1 cup all-purpose flour: This is the key to the crispy coating, helping achieve that golden crunch you love.
- 1 teaspoon garlic powder: Offers savory depth and a gentle punch of flavor.
- 1 teaspoon onion powder: Adds another layer of mild sweetness and complexity.
- 1 teaspoon paprika: Brings in a mild smokiness and beautiful color to the crust.
- 1 teaspoon dried dill: The star herb that gives this sandwich its uniquely bright, herby lift.
- Salt and pepper to taste: Essential for seasoning and enhancing all the flavors in the coating.
- Vegetable oil for frying: Used to achieve that perfect crispy exterior.
- 4 sandwich buns: Soft but sturdy buns provide the perfect vessel for the sandwich.
- Lettuce leaves: Add refreshing crunch and vibrant color.
- Sliced tomatoes: Bring juiciness and a hint of natural sweetness.
- Pickles: Offer a zesty tang that balances the richness.
How to Make Crispy Dill Chicken Sandwich Recipe You Can’t Resist! Recipe
Step 1: Marinate Your Chicken
Start by soaking your boneless chicken breasts in buttermilk for at least one hour. This simple step is crucial because it tenderizes the meat and infuses it with mild tang. Think of it as the foundation of juicy, flavorful chicken that sets your sandwich apart.
Step 2: Prepare the Flavorful Coating
While the chicken marinates, mix your dry ingredients—flour, garlic powder, onion powder, paprika, dried dill, salt, and pepper—in a shallow bowl. This herb-and-spice combo creates a vibrant, crisp crust that brings the fresh dill flavor front and center with every bite.
Step 3: Coat the Chicken
Once the chicken has marinated, remove each piece and coat thoroughly in your seasoned flour mixture. Making sure each breast is evenly covered will ensure that irresistible crunchy coating that’s so essential to this dish.
Step 4: Fry to Golden Perfection
Heat vegetable oil in a frying pan over medium heat and carefully add the coated chicken. Fry each side for 5 to 7 minutes, until the exterior is a gorgeous golden brown and the chicken is cooked through. The sound and sight of that crispy crust sizzling in the pan is one of the best parts of this recipe.
Step 5: Drain and Assemble
Remove the chicken from the oil and place it on paper towels to drain any excess oil. Then, assemble your sandwiches by layering each bun with crispy dill chicken, fresh lettuce, juicy tomato slices, and tangy pickles. This balance of textures and flavors is what makes the Crispy Dill Chicken Sandwich Recipe You Can’t Resist! Recipe so special.
How to Serve Crispy Dill Chicken Sandwich Recipe You Can’t Resist! Recipe
Garnishes
To elevate your sandwich further, consider adding crisp red onion rings or a smear of creamy mayo or flavorful aioli. These garnishes bring a welcome contrast in texture and add layers of taste to every bite. Fresh herbs like extra dill or parsley sprinkled on top can also brighten up the presentation and flavor.
Side Dishes
Pair this sandwich with classic sides like golden French fries or crunchy coleslaw for an unbeatable combo. Light options such as a crisp garden salad or pickled vegetables complement the richness beautifully and add a refreshing counterbalance.
Creative Ways to Present
For a fun twist, serve the sandwich open-faced with extra pickle slices strategically placed on top or stack the chicken with melted cheese and crispy bacon for an indulgent variation. Wrapping the sandwich in parchment paper or presenting it on a rustic wooden board can also add a charming, casual vibe when serving friends and family.
Make Ahead and Storage
Storing Leftovers
If you have any leftover sandwiches, wrap them tightly in plastic wrap or foil and store them in the refrigerator for up to two days. To keep the bread from getting soggy, store the chicken and buns separately if possible.
Freezing
The fried chicken itself freezes beautifully. Place the cooled chicken pieces in an airtight container or zip-top bag and freeze for up to one month. When you’re ready to enjoy, just thaw in the fridge overnight before reheating and assembling your sandwich.
Reheating
For the crispiest results, reheat the chicken in a preheated oven at 375°F (190°C) on a wire rack to maintain the crunchy texture. Avoid microwaving if you want to keep that satisfying crispiness. Warm the buns separately or toast them lightly before serving.
FAQs
Can I use chicken thighs instead of breasts?
Absolutely! Boneless, skinless chicken thighs will work well and tend to stay extra juicy, though cooking times might vary slightly. The crispy coating and dill flavor will still shine through beautifully.
What can I use if I don’t have buttermilk?
A quick substitute is mixing 1 cup of milk with 1 tablespoon of lemon juice or vinegar. Let it sit for 5 minutes to curdle, then use as you would buttermilk in the recipe.
Is dried dill necessary, or can I use fresh dill?
Both work wonderfully. Dried dill blends well with the flour coating, while fresh dill can be added as a garnish or inside the sandwich for extra bright, delicate flavor.
How do I know when the chicken is fully cooked?
The internal temperature should reach 165°F (75°C). If you don’t have a thermometer, check that the juices run clear and there’s no pinkness inside when you cut into the thickest part.
Can I make this sandwich gluten-free?
Yes! Substitute regular all-purpose flour with a gluten-free flour blend, and choose gluten-free sandwich buns. Just keep in mind the frying time might need slight adjustments to get the perfect crispy crust.
Final Thoughts
Trust me, once you try this Crispy Dill Chicken Sandwich Recipe You Can’t Resist! Recipe, it will become a staple in your recipe collection. Its perfect crunch, fresh herb flavor, and simple preparation make it ideal for everything from casual lunches to crowd-pleasing dinners. So grab your ingredients, get frying, and prepare to enjoy a sandwich experience that will leave you and your loved ones coming back for more.
Print
Crispy Dill Chicken Sandwich Recipe You Can’t Resist! Recipe
- Prep Time: 10 minutes
- Cook Time: 15 minutes
- Total Time: 1 hour 25 minutes
- Yield: 4 servings
- Category: Sandwich
- Method: Frying
- Cuisine: American
Description
This Crispy Dill Chicken Sandwich recipe features juicy, buttermilk-marinated chicken breasts coated in a flavorful dill and spice-infused flour mix, fried to golden perfection. Layered with fresh lettuce, tomatoes, and pickles on soft sandwich buns, it offers a delicious and irresistible meal perfect for lunch or dinner.
Ingredients
For the Chicken:
- 2 boneless, skinless chicken breasts
- 1 cup buttermilk
- 1 cup all-purpose flour
- 1 teaspoon garlic powder
- 1 teaspoon onion powder
- 1 teaspoon paprika
- 1 teaspoon dried dill
- Salt and pepper to taste
- Vegetable oil for frying
For Assembly:
- 4 sandwich buns
- Lettuce leaves
- Sliced tomatoes
- Pickles
Instructions
- Marinate the Chicken: Place the boneless, skinless chicken breasts in a bowl of buttermilk, cover, and let them marinate in the refrigerator for at least 1 hour. This helps tenderize the chicken and infuse flavor.
- Prepare the Flour Mixture: In a separate bowl, combine the all-purpose flour with garlic powder, onion powder, paprika, dried dill, salt, and pepper. Mix well to evenly distribute the spices.
- Coat the Chicken: Remove the chicken breasts from the buttermilk, allowing any excess to drip off, then thoroughly coat each piece with the seasoned flour mixture, pressing lightly to adhere the coating.
- Heat the Oil: Pour vegetable oil into a frying pan and heat over medium heat until shimmering and hot enough for frying.
- Fry the Chicken: Carefully place the coated chicken breasts into the hot oil. Fry for about 5-7 minutes on each side, or until the coating is crispy, golden brown, and the chicken is cooked through (internal temperature of 165°F/74°C).
- Drain the Chicken: Remove the fried chicken from the pan and place on paper towels to drain any excess oil.
- Assemble the Sandwiches: On the bottom half of each sandwich bun, layer a lettuce leaf, a slice or two of tomato, and pickles. Top with the crispy fried chicken breast, then cover with the bun top.
- Serve and Enjoy: Serve the sandwiches immediately while the chicken is hot and crispy for the best taste experience.
Notes
- Marinating the chicken for longer than 1 hour (up to 4 hours) intensifies tenderness and flavor.
- Make sure the oil temperature is medium heat to avoid burning the coating and ensure the chicken cooks through.
- Use a thermometer to check chicken doneness for safety and best texture.
- Feel free to customize toppings with mayonnaise, mustard, or cheese.


