“`html
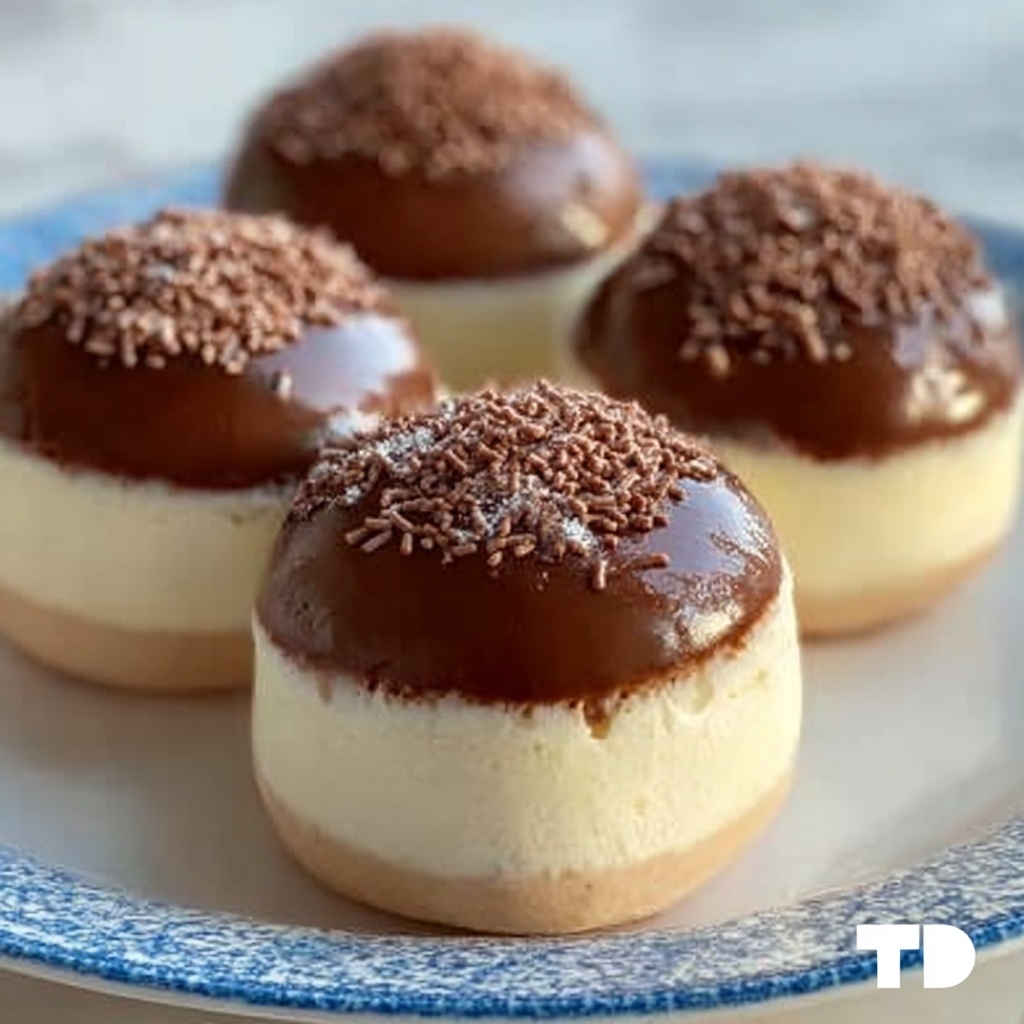
If you’re craving something utterly delicious that feels like a warm hug from Italy, you’ve got to try this Chocolate Maritozzi Italian Cream Buns Recipe. These soft, fluffy buns bursting with rich chocolate whipped cream are the perfect balance of sweet and airy, making them a delightful treat any time of day. Whether you’re enjoying these for breakfast, an afternoon pick-me-up, or a cozy dessert, they bring a touch of Italian charm and indulgence that’s impossible to resist.
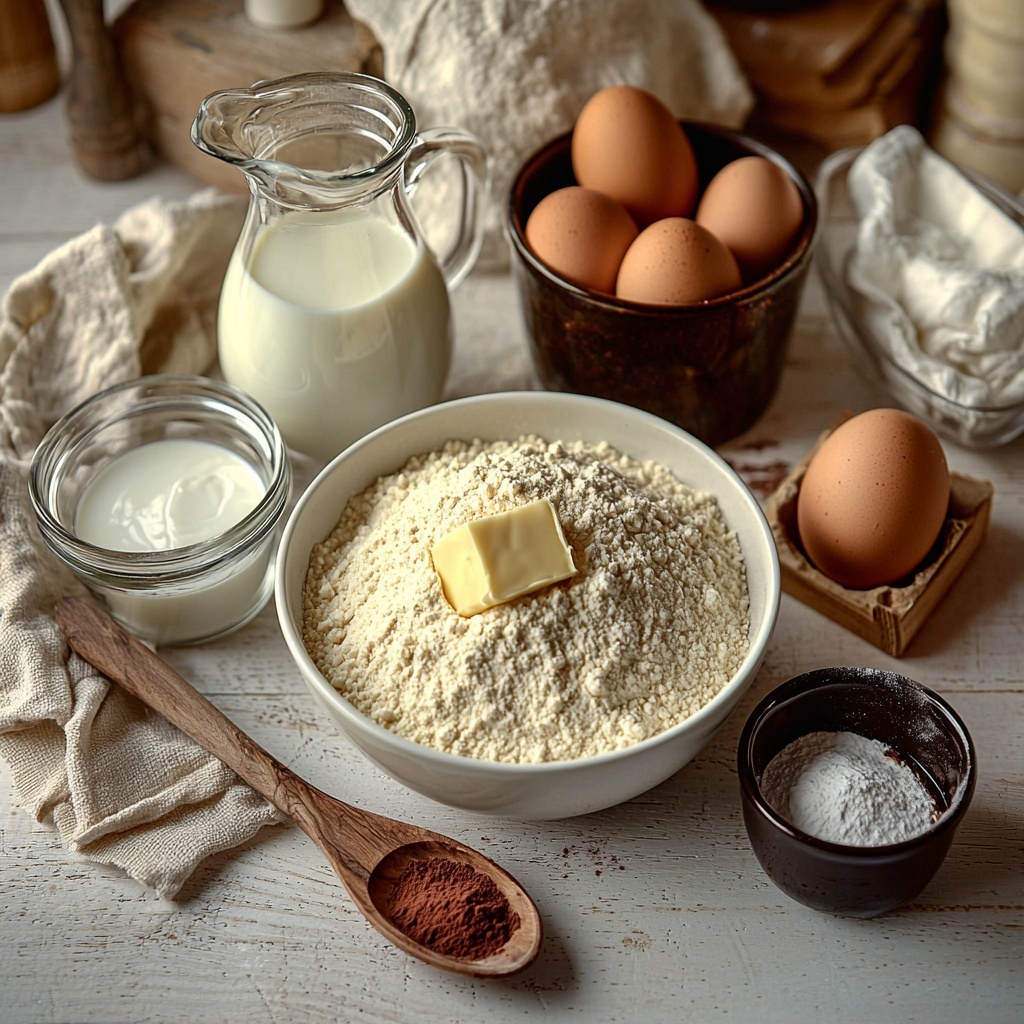
Ingredients You’ll Need
This Chocolate Maritozzi Italian Cream Buns Recipe calls for simple, everyday ingredients that come together to create something spectacular. Each plays its own vital role—from the all-purpose flour providing structure, to the warm milk and eggs lending richness, and the cocoa in the cream adding a velvety chocolate finish.
- 500 grams all-purpose flour: The foundation for wonderfully soft, springy buns.
- 100 grams granulated sugar: Just the right amount for gentle sweetness in the dough.
- 75 grams unsalted butter, melted: Adds richness and tenderness to the crumb.
- 250 ml milk, warmed: Helps activate the yeast and creates a moist dough.
- 15 grams active dry yeast: The magic ingredient that makes these buns rise beautifully.
- 2 large eggs: Contribute to the soft texture and golden color.
- 1 teaspoon vanilla extract: Infuses a subtle, comforting aroma.
- 1 pinch salt: Balances sweetness and enhances flavor complexity.
- 200 ml heavy cream: Whipped to create the luscious filling.
- 50 grams powdered sugar: Sweetens the cream perfectly without graininess.
- 1 tablespoon cocoa powder: Gives the cream that irresistible chocolate kick.
How to Make Chocolate Maritozzi Italian Cream Buns Recipe
Step 1: Combine Dry Ingredients
Start by mixing the flour, sugar, salt, and yeast in a large bowl. This ensures the yeast is evenly distributed and the base is ready to welcome the wet ingredients.
Step 2: Mix Wet Ingredients
In another bowl, whisk together the warmed milk, melted butter, eggs, and vanilla extract. The warmth of the milk is essential here—it wakes the yeast gently without killing it.
Step 3: Make the Dough
Gradually add the wet mixture into the dry ingredients, stirring until a cohesive dough begins to form. This is your canvas for fluffy, airy buns.
Step 4: Knead and Rise
Knead the dough well until it becomes smooth and elastic—this usually takes around 8-10 minutes. Then cover it and let it rise in a cozy, warm spot until it doubles in size, about an hour. This step is crucial for that lovely texture.
Step 5: Prepare for Baking
Preheat your oven to 180°C (350°F) and ready a baking sheet lined with parchment paper. This ensures your buns bake evenly and don’t stick.
Step 6: Shape and Second Rise
Divide the risen dough into small, evenly sized balls. Place them spaced out on the baking sheet and allow them a second rise until puffy and slightly larger—this gives the buns their final fluffy lift.
Step 7: Bake to Golden Perfection
Bake the buns for 15 to 20 minutes, until they turn a gorgeous golden brown. The aroma wafting from your oven will be pure happiness.
Step 8: Whip the Chocolate Cream
While the buns cool, whip together the heavy cream with powdered sugar and cocoa powder until soft peaks form. This rich, chocolatey cream is what transforms these buns into an extraordinary treat.
Step 9: Assemble
Carefully slice the cooled buns open without cutting all the way through, then generously fill each with the chocolate whipped cream. Ready to taste the silky, sweet goodness?
Step 10: Serve and Enjoy!
Serve these gently filled buns immediately to enjoy their perfect fluff and cream combination. Trust me, every bite is pure joy.
How to Serve Chocolate Maritozzi Italian Cream Buns Recipe
Garnishes
Adding a dusting of powdered sugar or a light sprinkle of cocoa on top takes these buns to another level of elegance. Fresh berries or a drizzle of chocolate sauce also work beautifully if you want a little extra flair.
Side Dishes
Pair your maritozzi with a rich espresso or a velvety cappuccino for a classic Italian twist. Light fruit salads or even a scoop of gelato bring balance if serving these as dessert.
Creative Ways to Present
Think beyond just buns on a plate—place them in a rustic basket lined with a colorful cloth for a charming brunch display. You could also stack two buns with layers of the whipped cream in between for a fun, playful twist on a sandwich-style treat.
Make Ahead and Storage
Storing Leftovers
If you have leftovers, keep them in an airtight container in the refrigerator. They’ll stay fresh and delicious for 3-4 days, perfect for savoring some more without losing that signature softness.
Freezing
You can freeze the plain baked buns before filling them with cream. Wrap them tightly in plastic wrap and place in an airtight bag. They’ll keep well for up to one month. When ready to enjoy, thaw at room temperature, then whip fresh cream to fill.
Reheating
Warm leftover buns lightly in a low oven or toaster oven to refresh their fluffy texture. Avoid reheating filled buns to keep the cream’s texture intact—just add whipped cream fresh before serving.
FAQs
Can I use instant yeast instead of active dry yeast?
Yes! If using instant yeast, reduce the amount slightly and add it directly to the dry ingredients. It speeds up the rising process but otherwise works wonderfully here.
Is there a substitute for heavy cream in the filling?
While heavy cream gives the best richness and volume, you can try using whipping cream with a slightly lower fat content. Just ensure it whips properly and maintains soft peaks.
How important is warming the milk?
Warming the milk activates the yeast more effectively, helping the dough rise beautifully. Too hot and it can kill the yeast, so aim for just lukewarm temperature.
Can I make the dough in advance?
Absolutely! You can prepare the dough and refrigerate it overnight after the first kneading. Just allow it to come back to room temperature before the first rise to ensure it rises properly.
What’s the best way to slice the buns for filling?
Slice the buns horizontally but not all the way through, creating a hinge that holds the whipped cream inside perfectly without the bun falling apart.
Final Thoughts
If you’re ready to impress your friends, family, or just treat yourself, this Chocolate Maritozzi Italian Cream Buns Recipe is an absolute must-try. Its combination of pillowy bun and luscious chocolate cream filling brings pure joy in every bite. Give it a whirl—you’ll find yourself making it again and again!
“`
Print
Chocolate Maritozzi Italian Cream Buns Recipe
- Prep Time: 30 minutes
- Cook Time: 20 minutes
- Total Time: 2 hours
- Yield: 12 servings
- Category: Dessert
- Method: Baking
- Cuisine: Italian
- Diet: Vegetarian
Description
Indulge in the fluffy, sweet delight of Chocolate Maritozzi, classic Italian cream buns featuring a soft, enriched dough baked to golden perfection and filled with luscious whipped cream infused with cocoa powder. Perfect as a breakfast treat or an elegant dessert.
Ingredients
Dough Ingredients
- 500 grams all-purpose flour
- 100 grams granulated sugar
- 75 grams unsalted butter, melted
- 250 ml milk, warmed
- 15 grams active dry yeast
- 2 large eggs
- 1 teaspoon vanilla extract
- 1 pinch salt
Filling Ingredients
- 200 ml heavy cream
- 50 grams powdered sugar
- 1 tablespoon cocoa powder
Instructions
- Prepare dry ingredients: In a large mixing bowl, combine the all-purpose flour, granulated sugar, salt, and active dry yeast, ensuring the yeast does not come into direct contact with salt to maintain its effectiveness.
- Combine wet ingredients: In a separate bowl, mix the warm milk, melted unsalted butter, eggs, and vanilla extract thoroughly until well blended.
- Form the dough: Gradually add the wet ingredients to the dry mixture, mixing continuously until a soft dough forms.
- Knead and proof: Knead the dough on a floured surface until it becomes smooth and elastic, then place it in a lightly greased bowl, cover, and set it in a warm place to rise until doubled in size, approximately 1 hour.
- Preheat the oven: Set your oven to 180°C (350°F) and line a baking sheet with parchment paper to prevent sticking.
- Shape and second rise: Divide the risen dough into small equal-sized balls. Place them evenly spaced on the prepared baking sheet, cover, and allow them to rise again until puffed, about 30 minutes.
- Bake the buns: Bake the buns in the preheated oven for 15-20 minutes until they turn a beautiful golden brown on top. Remove from the oven and transfer to a wire rack to cool completely.
- Make the chocolate whipped cream: In a chilled bowl, whip the heavy cream with powdered sugar and cocoa powder until soft peaks form, creating a light and fluffy filling.
- Assemble the Maritozzi: Once the buns are fully cooled, slice them open horizontally without cutting all the way through, creating a pocket for the cream. Generously fill each bun with the chocolate whipped cream.
- Serve and enjoy: Present the chocolate-filled Maritozzi freshly assembled, perfect for breakfast or an indulgent dessert treat.
Notes
- Ensure the milk is warm, not hot, to activate the yeast without killing it.
- For best results, chill the bowl and beaters before whipping the cream.
- You can substitute heavy cream with a lighter cream if preferred, but the filling may be less stable.
- Maritozzi are best enjoyed the day they are made for optimal freshness.
- Store leftover buns in an airtight container in the refrigerator for up to 2 days.


