
“`html
There is something truly magical about baking your own bread, especially when it’s a soft, fluffy loaf that’s perfect for sandwiches. This Easy Sandwich Bread Recipe for Beginners Recipe is exactly what you need if you want to dive into homemade bread baking without feeling overwhelmed. It’s straightforward, uses simple pantry staples, and delivers that comforting, reliable loaf that can become the star of your sandwiches or toast. Whether you’re new to bread making or looking for a fail-proof favorite to keep in your repertoire, this recipe is warm, inviting, and surprisingly simple to master.
Ingredients You’ll Need
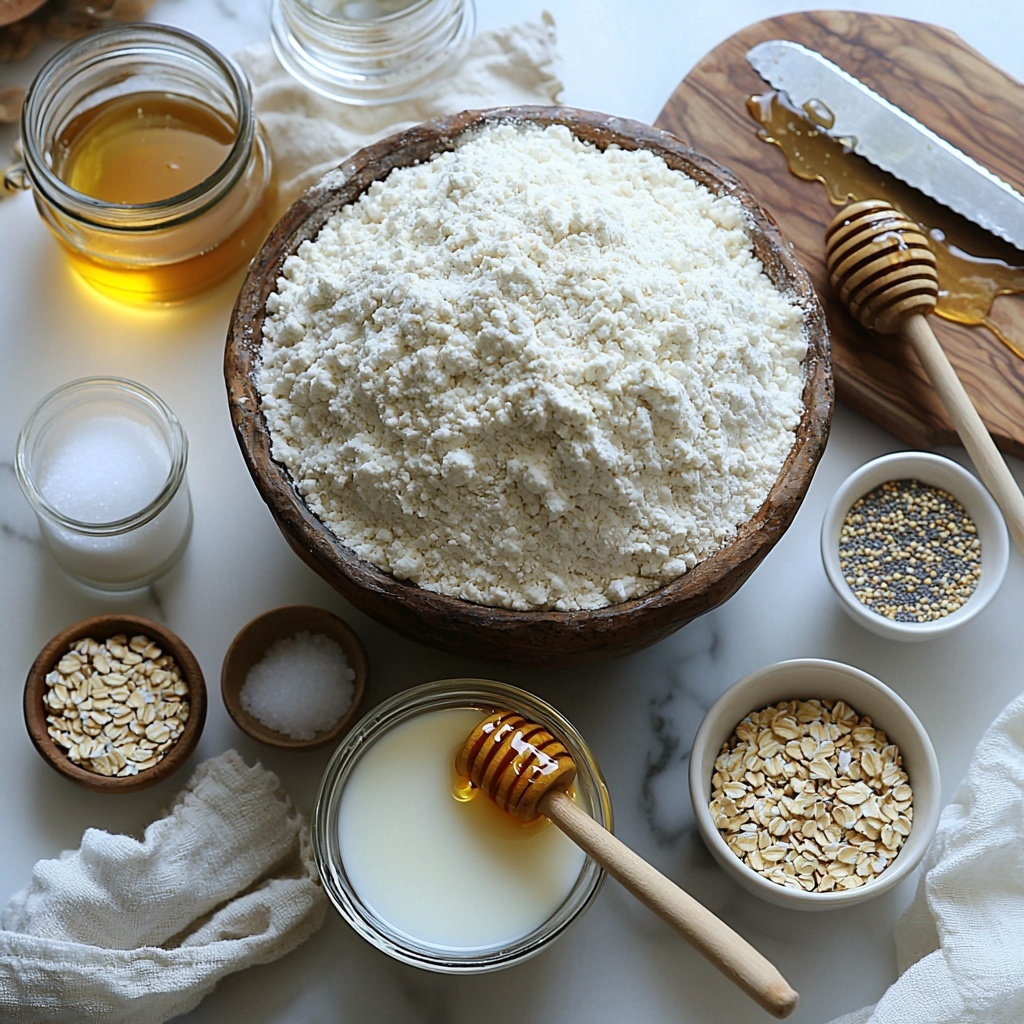
Getting started with this recipe means gathering a handful of everyday ingredients that each play a key role in creating the perfect sandwich bread. From the flour that builds structure to the yeast that adds life, every element is essential to flavor, texture, and that irresistible golden crust.
- All-purpose flour (or bread flour): Approximately 3 to 3 1/2 cups, the backbone of your dough, providing structure and chewiness.
- Warm water (105–115°F): 1 cup, activates the yeast and hydrates the flour, essential for rising.
- Milk (any kind, even non-dairy): 1/2 cup, adds richness and tenderness to the crumb.
- Active dry yeast or instant yeast: 2 1/4 teaspoons (one packet), the magical ingredient that makes your dough rise and develop flavor.
- Sugar or honey: 2 tablespoons, feeds the yeast and adds a touch of sweetness to balance the bread.
- Neutral oil or melted butter: 2 tablespoons, contributes to softness and moisture in the bread.
- Salt: 1 1/4 teaspoons, vital for enhancing flavor and controlling yeast activity.
- Optional add-ins: 1 tablespoon butter for brushing, seeds like sesame or poppy, or oats for topping – these add visual appeal and extra flavor.
How to Make Easy Sandwich Bread Recipe for Beginners Recipe
Step 1: Proof the yeast (if using active dry yeast)
Begin by stirring the sugar into warm water and sprinkling the active dry yeast on top. Let it rest for 5 to 10 minutes until it becomes foamy and alive. This step ensures your yeast is active, which is key for a great rise. If you’re using instant yeast, no proofing is necessary—you can add it directly with your flour.
Step 2: Add liquids and seasoning
Once the yeast is bubbly, stir in the milk, oil (or melted butter), and salt. Make sure all your liquids are warm but not hot—too much heat will kill the yeast. This mixture forms the flavorful foundation of your dough.
Step 3: Mix in the flour
Start by adding 2 1/2 cups of flour and stirring until a shaggy dough forms. Gradually add more flour bit by bit until the dough pulls cleanly from the sides of the bowl but is still slightly tacky to the touch. This balance creates a dough that’s easy to handle and bakes into a soft loaf.
Step 4: Knead the dough
Turn your dough onto a floured surface and knead for 7 to 9 minutes by hand or 5 to 6 minutes using a mixer with a dough hook. You’re aiming for smooth, elastic dough that springs back when gently pressed—this elasticity sets the stage for a perfect crumb.
Step 5: Let the dough rise
Place the dough in a lightly oiled bowl, turning once to coat all sides. Cover it with a towel or plastic wrap and let it rest in a warm spot until it doubles in size, about 60 to 90 minutes. This first rise is critical for flavor and texture development.
Step 6: Shape the loaf
After it has risen, gently deflate the dough and press it into a rectangle roughly the length of your loaf pan. Roll it up tightly from the short edge, seal the seam by pinching, and tuck in the ends. Place the shaped dough seam-side down in a greased loaf pan (either 8.5×4.5 inches or 9×5 inches work great).
Step 7: Second rise before baking
Cover the pan and let your dough rise again until it domes about an inch above the rim of the pan, roughly 30 to 45 minutes. While it’s rising, preheat your oven to 350°F (175°C). This second rise builds that lovely soft interior and perfect loaf shape.
Step 8: Bake to golden perfection
Bake your bread for 28 to 35 minutes until the crust is deeply golden and the loaf sounds hollow when tapped. An internal temperature of about 190 to 195°F confirms it’s fully baked. This is where the magic happens—transforming dough into the aromatic loaf you’ll soon enjoy.
Step 9: Finish and cool
Remove the bread from the pan immediately after baking to prevent a soggy crust. A quick brush with butter adds a soft, shiny finish that’s dreamy to the touch. Allow your bread to cool completely on a wire rack, at least an hour, before slicing. This step helps the crumb set perfectly.
How to Serve Easy Sandwich Bread Recipe for Beginners Recipe
Garnishes
Your sandwich bread is beautiful on its own, but a light brush of melted butter right after baking or a sprinkle of seeds before baking adds personality and a subtle crunch that can take your loaf to the next level. Even a dusting of oats brings a rustic charm and appealing texture.
Side Dishes
This versatile sandwich bread pairs beautifully with everything from creamy soups and fresh salads to hearty stews and vibrant vegetable dishes. Its soft, neutral flavor supports bold, savory fillings and makes for a perfect breakfast companion with jam or creamy spreads.
Creative Ways to Present
Use your homemade bread to craft open-faced sandwiches layered with colorful veggies, cheeses, and meats—presentation matters! Toast slices lightly and serve with an assortment of dips for a simple appetizer board that’ll impress guests effortlessly. Or turn it into grilled sandwiches with melty cheese for a cozy treat everyone will love.
Make Ahead and Storage
Storing Leftovers
Wrap your leftover slices tightly in plastic wrap or place them in an airtight container to keep them fresh. Stored at room temperature, they should remain soft and delicious for about 2 to 3 days, perfect for quick sandwiches or toast.
Freezing
This bread freezes wonderfully and you can keep it in the freezer for up to 3 months. Slice it beforehand and separate slices with parchment paper before freezing to easily grab just what you need. Thaw at room temperature or pop them straight into the toaster for a fresh-like taste.
Reheating
To revive your bread’s fresh-baked charm, toast or warm slices gently in the oven wrapped in foil. Adding a little butter while warming enhances softness and flavor, making each bite as delightful as the first day.
FAQs
Can I use whole wheat flour instead of all-purpose flour?
Yes, you can substitute whole wheat flour, but because it has less gluten, your bread might be denser. Try using a mix of whole wheat and all-purpose flour to keep that light, soft texture.
What if my dough doesn’t rise properly?
If your dough isn’t rising, it could be due to inactive yeast or water that’s too hot or cold. Check your yeast’s expiration date and make sure the water temperature is between 105 and 115 degrees Fahrenheit to activate it effectively.
Can I make this recipe without dairy?
Definitely! This recipe is very flexible—use any non-dairy milk like almond, oat, or soy milk for a tender crumb without changing the flavor much. Just make sure the milk is warmed to the right temperature for the yeast.
How long does the entire process take from start to finish?
You’re looking at about 2 hours and 50 minutes, including two rises. While the hands-on time is minimal, patience during rising lets the bread develop its characteristic soft texture and great flavor.
What’s the best way to slice this bread?
Use a serrated bread knife and let your loaf cool completely before slicing to avoid squishing the soft crumb. Cutting slowly with a gentle sawing motion helps you get neat, even slices every time.
Final Thoughts
There is nothing quite like the joy of pulling a warm loaf of homemade bread from the oven, especially when it’s from this Easy Sandwich Bread Recipe for Beginners Recipe. It’s a comforting, satisfying way to connect with your food and share simple pleasures with family and friends. I can’t wait for you to try it yourself and experience just how approachable and rewarding baking your own bread can be!
“`
Print
Easy Sandwich Bread Recipe for Beginners Recipe
- Prep Time: 20 minutes
- Cook Time: 35 minutes
- Total Time: 2 hours 50 minutes
- Yield: 12 servings (one 8.5×4.5 or 9×5 inch loaf)
- Category: Bread
- Method: Baking
- Cuisine: American
Description
This easy sandwich bread recipe is perfect for beginners, offering a soft, reliable, and simple homemade loaf. With minimal ingredients and straightforward steps, you can create fresh, tender bread ideal for sandwiches or toast, with optional toppings for added flavor and texture.
Ingredients
Main Ingredients
- All-purpose flour (or bread flour): about 3 to 3 1/2 cups
- Warm water (105–115°F): 1 cup
- Milk (any kind, even non-dairy): 1/2 cup
- Active dry yeast or instant yeast: 2 1/4 teaspoons (one packet)
- Sugar or honey: 2 tablespoons
- Neutral oil or melted butter: 2 tablespoons
- Salt: 1 1/4 teaspoons
Optional Add-ins and Toppings
- 1 tablespoon butter for brushing
- Seeds (sesame, poppy, sunflower)
- Oats for topping
Instructions
- Proof the yeast: In a large bowl, mix warm water and sugar. Sprinkle the active dry yeast on top and wait 5–10 minutes until foamy. If using instant yeast, you can skip this step and add it directly with the flour later.
- Add liquids and salt: Stir in the milk, oil (or melted butter), and salt to the yeast mixture. Ensure the liquid is warm but not hot to avoid killing the yeast.
- Mix in the flour: Add 2 1/2 cups of the flour and stir until a shaggy dough forms. Gradually add the remaining flour a little at a time until the dough pulls away from the bowl and feels slightly tacky but not sticky.
- Knead the dough: Transfer the dough to a lightly floured surface. Knead by hand for 7–9 minutes or by mixer for 5–6 minutes until the dough is smooth, elastic, and springs back when pressed gently.
- First rise: Place the dough in a lightly oiled bowl, turning once to coat. Cover with a towel or plastic wrap and let it rise in a warm spot until doubled in size, about 60–90 minutes.
- Shape the loaf: Gently deflate the dough and press it into a rectangle roughly the length of your loaf pan. Roll it tightly from the short side, pinch the seam and tuck in the ends, then place seam-side down into a greased 8.5×4.5-inch or 9×5-inch loaf pan.
- Second rise: Cover the pan and let the dough rise until it crowns about 1 inch above the rim, about 30–45 minutes. Preheat the oven to 350°F (175°C) during this time.
- Bake the bread: Bake the loaf for 28–35 minutes until the top is deep golden and sounds hollow when tapped. The internal temperature should be about 190–195°F when done.
- Finish and cool: Remove the bread from the pan immediately to prevent the crust from becoming soggy. Brush the top with butter if you prefer a soft crust. Cool the loaf on a rack for at least 1 hour before slicing.
Notes
- Using instant yeast can shorten preparation time as it does not require proofing.
- Ensure liquids are warm but not hot to avoid killing the yeast.
- Knead sufficiently to develop gluten for a soft and elastic crumb.
- You can add seeds or oats on top for extra texture and flavor before baking.
- Allow the bread to cool completely before slicing to avoid a gummy texture.
- Store bread in an airtight container at room temperature for up to 3 days or freeze to extend freshness.


