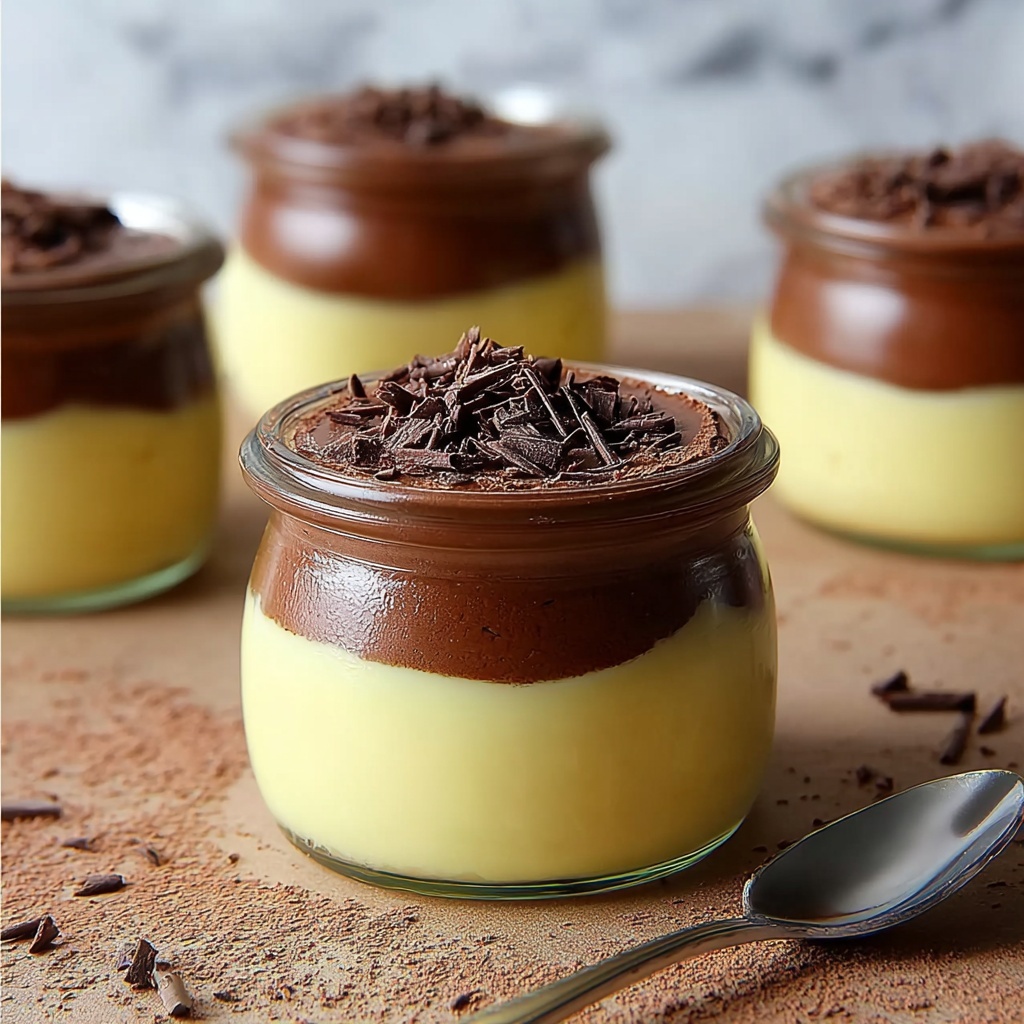
If you are looking for a delightful treat that feels like a warm hug in a cup, these Vanilla Pudding Cups: A Simple and Creamy Dessert Recipe are just what you need. This dessert is the perfect blend of smooth, luscious texture and pure vanilla flavor, creating a comfort dessert that’s easy to make yet impressively rich. Whether you want a quick afternoon snack or a charming finale to your dinner party, these pudding cups will bring smiles every time.
Ingredients You’ll Need
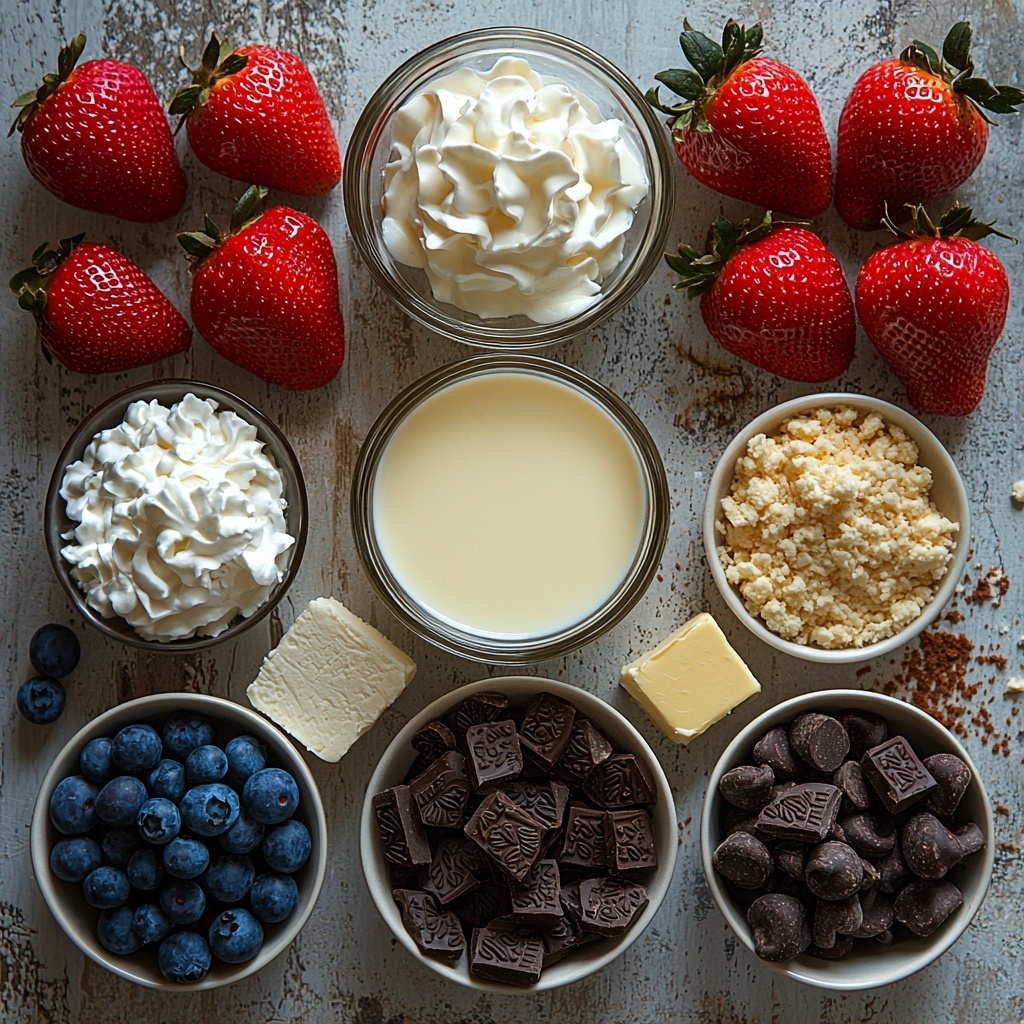
What makes this Vanilla Pudding Cups: A Simple and Creamy Dessert Recipe so irresistible is the simplicity of the ingredients that each play a crucial role. From the richness of whole milk to the subtle sweetness of sugar, every component works harmoniously to create the perfect creamy texture and delightful flavor.
- 2 cups whole milk: Provides the creamy base essential for smooth texture and rich taste.
- 1/2 cup granulated sugar: Adds the perfect amount of sweetness without overpowering the vanilla.
- 1/4 cup cornstarch: Acts as a thickening agent to give the pudding its signature creamy consistency.
- 1/4 teaspoon salt: Enhances and balances all the flavors beautifully.
- 2 teaspoons vanilla extract: Infuses the pudding with that classic, comforting vanilla aroma and taste.
- 2 tablespoons unsalted butter: Adds richness and a silky finish to each spoonful.
- Whipped cream (optional): Perfect for topping and adding a light, airy texture contrast.
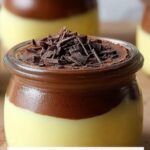
- Chocolate shavings (optional): For a touch of elegance and a bit of chocolatey crunch.
- Fresh berries (optional): Brings freshness and a pop of color to your dessert.
- Crushed cookies (optional): Adds texture and a little extra indulgence as a garnish.
How to Make Vanilla Pudding Cups: A Simple and Creamy Dessert Recipe
Step 1: Combine Dry Ingredients
Start by whisking together the cornstarch, granulated sugar, and salt in a medium saucepan. Getting these mixed well upfront prevents lumps and ensures a smooth pudding base that’s just right in consistency.
Step 2: Add Milk
Gradually pour in the whole milk while continuously whisking. This step is key to achieving a lump-free mixture that will cook evenly and thicken beautifully without clumps.
Step 3: Heat Mixture
Place the saucepan over medium heat and keep stirring constantly as the pudding mixture thickens. This process takes patience, about 5 to 7 minutes, but it’s when the magic happens—the pudding starts to bubble gently and transform into that luscious creamy texture we love.
Step 4: Add Vanilla and Butter
Once your pudding has thickened, remove it from the heat and stir in the vanilla extract and butter. The butter melts into the pudding, giving it a silky, rich finish while the vanilla boosts the flavor profile to classic perfection.
Step 5: Transfer to Cups
Pour the pudding into individual serving glasses or bowls. For best results, press plastic wrap directly onto the pudding’s surface to prevent an unappealing skin from forming while it chills.
Step 6: Chill
Pop the pudding into the refrigerator for at least 10 minutes. This chilling time lets the pudding set up and makes it delightfully cool and refreshing to enjoy.
Step 7: Garnish
Your Vanilla Pudding Cups: A Simple and Creamy Dessert Recipe really shine when topped with a dollop of whipped cream, a sprinkle of chocolate shavings, fresh berries, or some crushed cookies to add contrasting textures and flavors.
Step 8: Enjoy
After all this care and attention, it’s finally time to dive in—serve immediately and savor the luscious, creamy flavor that only homemade vanilla pudding can deliver.
How to Serve Vanilla Pudding Cups: A Simple and Creamy Dessert Recipe
Garnishes
Garnishing your Vanilla Pudding Cups: A Simple and Creamy Dessert Recipe is not just decorative but elevates the eating experience. Whipped cream adds lightness, chocolate shavings introduce a touch of luxury, fresh berries bring a fruity brightness, and crushed cookies lend delightful crunch. Feel free to mix and match to suit the occasion or your mood!
Side Dishes
These pudding cups pair beautifully with other desserts like a warm fruit tart or shortbread cookies, turning any meal into a celebration. Fresh fruit or a small glass of sparkling wine can also complement the creamy texture and vanilla notes perfectly.
Creative Ways to Present
For a fun twist on presentation, try layering your vanilla pudding with crushed cookies or fruit compote in clear glasses to create stunning parfaits. Alternatively, serve your pudding in pretty mason jars or vintage teacups to add a charming, personal touch to your dessert table.
Make Ahead and Storage
Storing Leftovers
If you happen to have leftovers (though honestly, they rarely last long!), store them tightly covered in the refrigerator for up to 2 days. Keeping plastic wrap pressed on the pudding’s surface prevents a skin from forming and preserves that creamy texture.
Freezing
While freezing vanilla pudding is possible, it can slightly change the texture, making it less smooth once thawed. If you choose to freeze, transfer pudding into airtight containers and freeze for up to 1 month. Thaw overnight in the refrigerator before serving and give it a good stir.
Reheating
This pudding is best enjoyed cold, but if you prefer it warm, gently reheat in a saucepan over low heat, stirring constantly to avoid scorching. Add a splash of milk if it thickens too much during reheating to restore its creamy consistency.
FAQs
Can I use milk alternatives for this vanilla pudding recipe?
Yes! You can substitute whole milk with almond milk, oat milk, or soy milk for a dairy-free version; just keep in mind that the texture might be a bit lighter, but the flavor will still be delightful.
How long does the pudding take to set properly?
While the pudding thickens on the stove, the chilling step is crucial. It needs at least 10 minutes to set in the fridge, but for the best texture, chilling it for 30 minutes to an hour is ideal.
What can I do if the pudding is too thick or too thin?
If it’s too thick, gently whisk in a little more milk to loosen it. If it’s too thin, return it to the heat to cook a bit longer while stirring until it thickens to your liking.
Is this recipe suitable for kids?
Absolutely! This Vanilla Pudding Cups: A Simple and Creamy Dessert Recipe uses simple, wholesome ingredients and has a creamy, mild flavor that kids adore. Just be sure to adjust any toppings to suit their preferences.
Can I make this recipe vegan?
You can veganize it by using plant-based milk and switching out butter for a vegan alternative. Also, ensure that your toppings like cookies are vegan-friendly to keep it entirely plant-based.
Final Thoughts
There is something truly comforting about homemade vanilla pudding, and this Vanilla Pudding Cups: A Simple and Creamy Dessert Recipe is an easy way to bring a bit of that homemade magic into your kitchen. Simple to prepare and endlessly adaptable, it’s a dessert that invites creativity and always satisfies. I can’t wait for you to make it and enjoy every creamy, dreamy bite!
Print
Vanilla Pudding Cups: A Simple and Creamy Dessert Recipe
- Prep Time: 10 minutes
- Cook Time: 10 minutes
- Total Time: 20 minutes
- Yield: 4 servings
- Category: Dessert
- Method: Stovetop
- Cuisine: American
Description
This Vanilla Pudding Cups recipe offers a simple and creamy homemade dessert that’s smooth, rich, and full of classic vanilla flavor. Made with whole milk, sugar, cornstarch, and vanilla extract, this pudding is cooked on the stovetop until perfectly thickened and then chilled for a delightful treat. Optional toppings like whipped cream, chocolate shavings, fresh berries, or crushed cookies elevate it to a customizable indulgence perfect for any occasion.
Ingredients
For the Vanilla Pudding:
- 2 cups whole milk
- 1/2 cup granulated sugar
- 1/4 cup cornstarch
- 1/4 teaspoon salt
- 2 teaspoons vanilla extract
- 2 tablespoons unsalted butter
For Topping (optional):
- Whipped cream
- Chocolate shavings
- Fresh berries (such as strawberries or blueberries)
- Crushed cookies (such as graham crackers or Oreos)
Instructions
- Combine Dry Ingredients: In a medium saucepan, whisk together 1/4 cup cornstarch, 1/2 cup granulated sugar, and 1/4 teaspoon salt until evenly mixed.
- Add Milk: Gradually whisk in 2 cups of whole milk, ensuring the mixture is smooth and free of lumps.
- Heat Mixture: Place the saucepan over medium heat and cook the mixture, stirring constantly, until it thickens and starts to bubble, approximately 5-7 minutes.
- Add Vanilla and Butter: Remove the saucepan from heat and stir in 2 teaspoons of vanilla extract and 2 tablespoons of unsalted butter until the butter melts and is fully incorporated.
- Transfer to Cups: Pour the pudding into individual serving cups or a single large bowl. Cover the surface directly with plastic wrap to prevent a skin from forming.
- Chill: Refrigerate the pudding for at least 10 minutes until it is set and cool.
- Garnish: Once chilled, remove the pudding from the refrigerator. Add your choice of whipped cream, chocolate shavings, fresh berries, or crushed cookies as toppings.
- Enjoy: Serve immediately and enjoy the creamy, delicious vanilla pudding cups.
Notes
- To prevent lumps, add milk gradually while whisking continuously.
- Press plastic wrap directly onto the pudding surface to avoid skin formation.
- Chilling time can be extended up to 2 hours for firmer pudding.
- You can substitute whole milk with 2% milk for a lighter version, but creaminess will slightly reduce.
- Use fresh vanilla extract for best flavor.
- Toppings are optional but add texture and flavor variety.